There are a billion and one thing I learnt from hosting my first exhibition at Rusten House, much of it passed down to me from my curator Janita Byrne at QPRC Cultural Arts. I thought I’d note them all down and share them here. Here is list of what to consider:
- Create a catchy and easy to remember exhibition title, which as meaning for you.
- Pick a date when a blockbuster art exhibition is happening in your region and you can, if you wish, piggyback on the visitors coming into your region from that event, to also visit your exhibition. For example, the Cressida Campbell exhibition was running at the National Gallery of Australia around the same time as my exhibition.
- Book your exhibition venue well in advance. Save up for the venue hire fee might be a few hundred or even $1K.
- Consider applying for a grant for your exhibition, offering as part of your exhibition several community engagement activity options in your program. i.e. I won a grant from the QPRC Cultural Grants.
- Prepare your theme story for your exhibition, explaining your purpose or theme behind your work.\
- Draft a comprehensive Press Release document early and in readiness.
- Draft your bio and a paragraph about the exhibition
- Draft a DL size specific launch invitation and have it proofed
- Draft a A5 booklet and poster for the exhibition, dates, bio and acknowledgements
- Have your promotional materials proofread
- Number each work on the back and also on the bubble wrap for re-packaging purposes
- Ensure each artwork has your Signature and Brand and Website details stamped on the back.
- Create word doc with exhibition price list with, name, medium, size and prices
- If you decide to donate a percentage of each painting sold to a charity or cause, factor this in when you consider what you require to cover your costs for preparing your works.
- Plan to host a launch event and invite a public figure to introduce you and your work (instead of you talking about yourself.
- At your closing event, offer a Free Artist Talk and provide this in a casual setting such as a morning or afternoon tea.
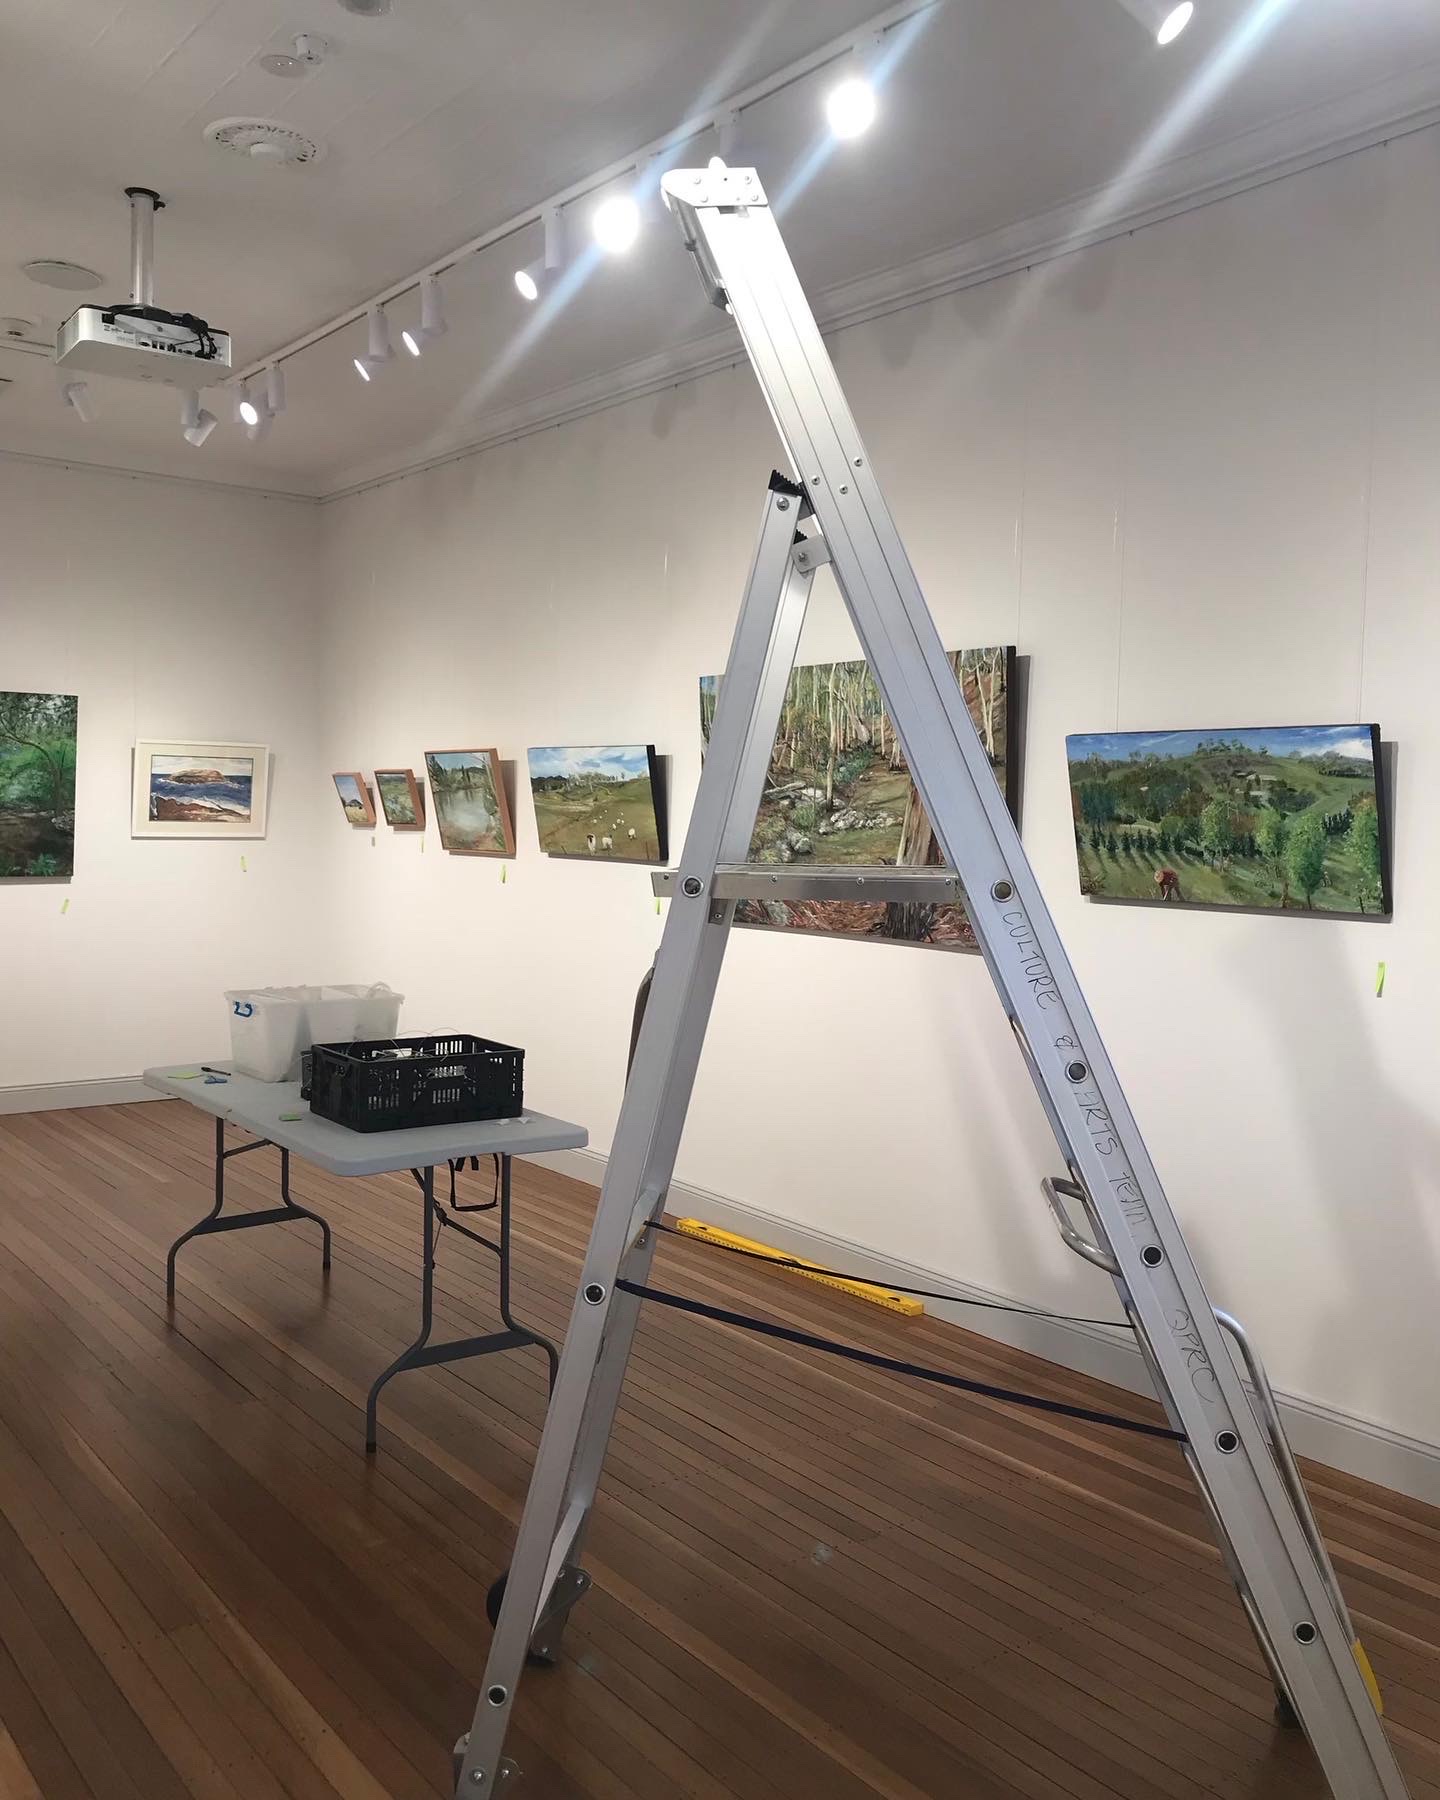
HANGING
1. Get acquainted with your gallery owner and their expectations
2. Check out the Gallery’s hanging system and requirements, such as always using D-rings on the back of your work
3. Start by taking your artwork into the gallery (prepare for courier or truck hire costs) and then unwrap each work before placing each work around the room. This is your mockup of where you might hang your work.
4. Curate your exhibition around themes, considering sizes and spacing between artworks
5. Once you are happy with placement in the room, then you can install the hanging strings or plastic wires that come down.
6. Using a tall wooden doweling rod, gently move the hanging hooks at the ceilings into position,
7. Get the plastic hanging wires positioned to the same width of the painting you will be hanging, before attaching the strings to the D-rings on the back of your painting
8. Have a second pair of hands to help you hold each
painting steady, while you attach the plastic wires to each D-ring.
9. First use your own eyes to position each work and then use a spirit level tool and tape measure from the floor to check the distances
10. Using a tape measure or ruler to calculate the distance between different paintings to get balanced placement.
11. Don’t forget to hide (by masking taping up) the hanging system wires that may be showing at the bottom of your paintings.
LAUNCH
1. Don’t over cater at your launch opening, a nice cheese and fruit platter with crackers works well.
2. Don’t invite everyone you know to your launch, only those people closest to you and those potential art buyers you may know
3. Don’t forget to invite your local Mayor and or other local identities
4. Ask a public figure to help you launch your exhibition and have them talk about you and your work.
5. At the launch, have people arrive and be first greeted with nibbles and wine and champagne, after which you encourage them to browse your collection
6. Short speeches allows more time for your guests to purchase your paintings
MARKETING
1. Draft Excel mailing list well in advance. I started 12 months ahead!
2. Join or start networking with art groups or enthusiasts out there, well in advance
3. Set up your event FREE tickets using Eventbrite or another online software program\
4. Use hyperlinks that you have in your event program or Eventbrite to gather registrations
5. Send out weekly blog news about your exhibition and you can start that at least 3 weeks ahead
6. Use mail chimp to email your guest list and allow them to unsubscribe if required. Invite everyone you have an email for, to attend your opening, don’t just make it exclusive and that way you never know who may attend and purchase your artworks.
7. Use online social media i.e. Instagram, Facebook and Twitter to promote your event (daily) leading up to and during the exhibition
8. Be direct when selling your artwork – say it is for sale and create a sense of urgency, linked to the dates of your closing exhibition date.
9. Create a catchy and easy to remember exhibition title, which has meaning for you.
10. Consider what other events are taking place at the same time as your exhibition. If there is a blockbuster show happening in your region on the same dates then you may wish to piggyback on the visitors coming into your region from that event, to also visit your exhibition. For example the Cressida Campbell exhibition was being hosted by the National Gallery of Australia at the same time as one of my exhibition so I knew a lot of tourist would be there and might just squeeze in another exhibition.
11. Book your exhibition venue well in advance. Save up for the venue hire fee, as this might be a few hundred dollars or even $1K.
12, Consider applying for grant for your exhibition, offering as part of your exhibition several community engagement activities in your program. i.e. I won a grant and did just this.
13. Prepare your theme story for your exhibition, explaining your purpose or theme behind your work.
14. Draft a comprehensive Press Release document eary and in readiness.
15. Draft your bio and a paragraph about the exhibition, slightly different to your press release text.
16.Draft a DL size specific launch invite, formatted like a small poster and have it proofed before printing.
17. Draft a A5 booklet and poster for the exhibition. Include in this your bio, exhibition dates and acknowledgements. This along with your DL flyer will be useful ‘hand outs’ during your exhibition.
18, Have your promotinoal materials proofread.
19, Number each work on the back and also on the bubble wrap for re packaging (should your work not sell).
20. Ensure each artwork has your Signature and Brand and website details stamped on the rear of your work.
21, Create a simple document listing your exhibition works price list , name, date created, medium used and, size of each work. Some galleries like to print a complete handout with pricing included I recommend NOT to do this as I believe this document should just be for your records.
22. If you decide to donate a percentage of each painting sold to a charity or cause, factor this in when you consider what you require to re coup your costs for creating the work.
23. Plan to host a launch event and invite a public figure to introce you and your work. (Instead of you talking about yourself).
24. At your closing event offer a FREE Artist Talk and provide this in a casual setting such as a morning or afternoon tea.
THAT’S MY LIST FOR SOLO EXHBITION TIPS.
If you decide you would prefer to join with a group exhibition then be prepared for possibly a slightly different experience or even a ‘bumpy ride’. I have heard lots of stories about group exhibition and I have to admit it is not as easy as people think. It can be a rather tense experience, especially if you are working with another artist who might be rather particular about have the choice spot to hang their work, or slip in other pieces in the exhibition that do not fit with the criteria for your exhibition. i.e. you promote to the world you are having an exhibition about portraits and they turn up on the ‘bump in’ day with a large landscape, they love and want it to be at the opening of the gallery’. Believe me it can happen. Also if you are in a group exhibition, some people may get a bit precious about who gets the best hanging hooks or spots on the wall, or they might even get annoyed with you, because you have more time to set up your works and don’t then donate your time to help them with their hanging of work. What is important to remember with any group show, is to make a list of your expectations and get these agreed in writing well before you accept the invitation.
Here is a list I’d use, if I was to join a group show, not managed by a gallery.
- Agree you are likeminded artists, with the same values, and you understand that work is involved, before, during and after the exhibition. (ontop of creating the artworks).
- Signed and agreed schdule creating promotional artwork. i.e. Create a list of dates and names of who will do what, including drafting, proofing, printing material. (Note: have a much as possible put in writing and agreed before proceeding. Get the other artists to sign that paper and agree to those commitments.
- Each artist must provide their own hanging hooks, ropes, D-Rings (Even if the gallery has a bunch and says you can use there’s). This tip is important albeit it rather obvious.
- Draft artist bio’s to be no longer than say 350 words.
- Bump in and out dates agreed in advance (no deviation unless there is a family emergency).
- Each artist hangs their own work in their own time (allow at least 3 days). I know 3 days sounds like a lot, but if you are hanging over 30 works you will need this time.
- Artists all must sign off on promotional materials, including and especially your Press Release.
- Artists don’t go off and do their own media releases and radio or press interviews unless previously agreed, prior to the exhibition. The media will single out an artist or two, so the group should agree that they must mention the whole group’s names.
- Artists to nominate a maximum of two works they would like included with promotional materials.
- Agree on the number of works for the exhibition, with no last minute switcharoo’s.
- Artists to not winge about the venue to anyone and or to other artists. The old adage ‘The show must go on’ is what applies here. Nothing brings a mood down that hanging with other artists who may wish to voice their complaints about the cleanliness, service or anything else about the venue or its owners. In my humble view, the venue selected is what it is and if it needs fixing then everyone should have checked that out well in avance and or when the show is about to beging, simply roll up their sleeves and make it work.
- Pump out means all artists to assist and leave the venue as they found it.
Leave a Reply